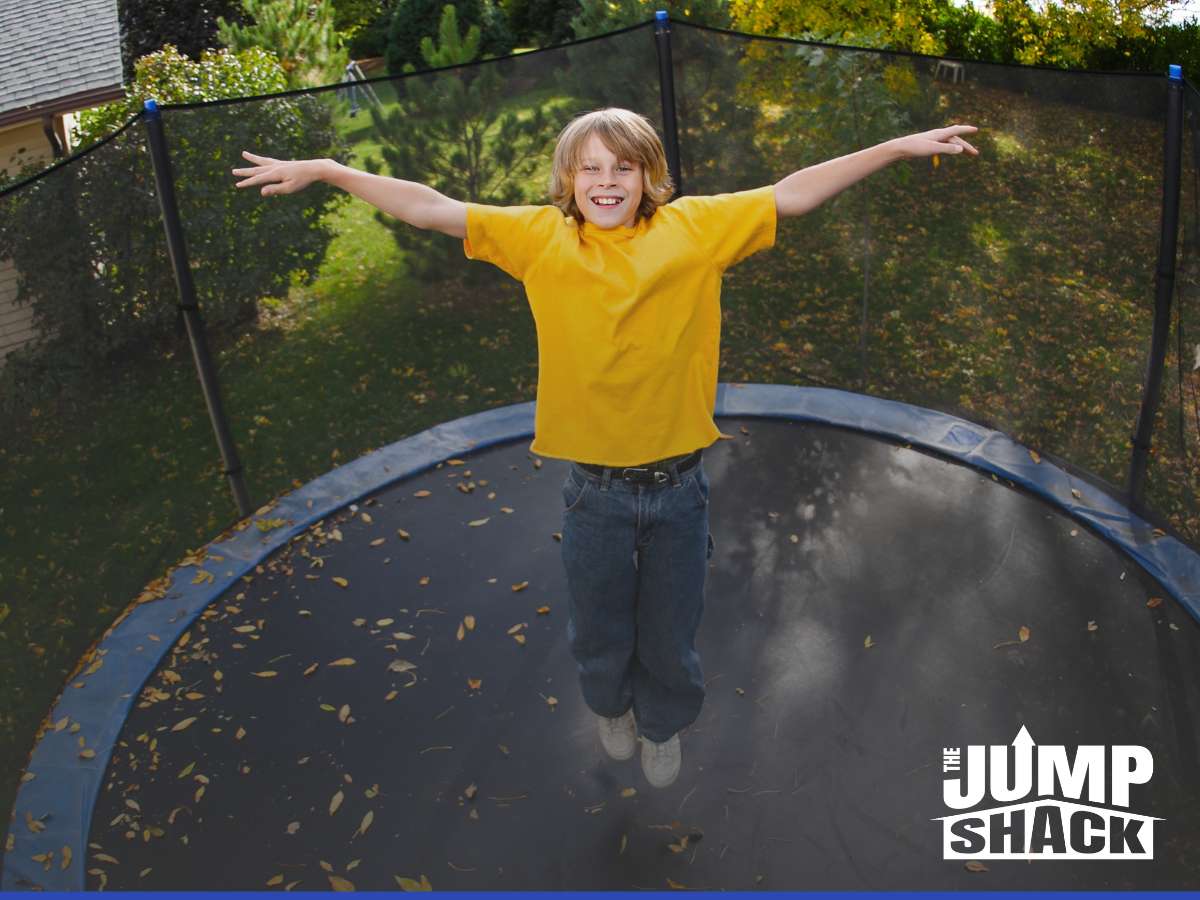
Why Ventilation Is Essential For Optimal Performance & Longevity Of In-Ground Trampolines
Installing an in-ground trampoline offers numerous benefits, including a sleek aesthetic and enhanced safety. However, proper ventilation is crucial to ensure optimal performance and longevity. Without adequate ventilation, an in-ground trampoline can suffer from poor bounce quality and even structural damage. This guide provides a detailed overview of how to ensure proper ventilation for your in-ground trampoline installation.

Planning & Preparation For In-Ground Trampoline Installation
Selecting The Right Trampoline
Begin by choosing the appropriate in-ground trampoline that meets your needs. Consider factors such as size, shape, and features. Evaluate options like in-ground trampoline enclosures and in-ground trampoline covers. Ensure the trampoline package includes all necessary parts and accessories. Research various models and brands to find a durable and reliable product that fits your budget. Check customer reviews and ratings to ensure quality and performance.
Choosing The Location
Select a flat, well-drained area in your yard. Avoid spots prone to water accumulation or poor drainage. Ensure ample space around the trampoline for safe use. Measure the area to accommodate the trampoline size chosen. Consider the proximity to trees, fences, and other structures that could obstruct installation or pose safety hazards. Verify there are no underground utilities in the selected area.
Digging The Pit For Your In-Ground Trampoline
Marking The Area
Use spray paint, stakes, and string to outline the area where the pit will be dug. Make the marked area slightly larger than the trampoline frame to allow for proper installation and ventilation. Double-check the measurements to avoid errors during excavation. A well-marked area ensures the pit is dug to the correct size and shape, facilitating a smoother installation process.
Excavating The Pit
Dig the pit to the required depth, typically about 3 feet, ensuring the sides are sloped to prevent soil collapse. Remove rocks and debris to avoid damaging the trampoline. Use appropriate tools and equipment such as shovels, spades, or a small excavator for larger projects. Ensure the pit is level and even to prevent issues during installation. Consider renting an excavator to save time and effort for larger pits.
Preparing The Pit: Key Steps For In-Ground Trampoline Success
Installing a Drainage System
A drainage system is essential to prevent water accumulation in the pit. Install a French drain or a sump pump at the bottom of the pit. Layer gravel at the bottom to improve drainage. Cover the gravel with landscaping fabric to prevent soil from clogging the drainage system. Regularly maintain the drainage system to ensure it remains effective, especially after heavy rains.
Setting Up The Trampoline Frame
Assembling The Frame
Assemble the trampoline frame according to the manufacturer’s instructions. Ensure all parts fit securely and that the frame is stable. Check for any missing or damaged in-ground trampoline parts and replace them as necessary. A properly assembled frame is crucial for the trampoline’s stability and safety.
Positioning The Frame In The Pit
Place the assembled frame into the pit, ensuring it is level and centered. Adjust the frame as needed to ensure it sits evenly in the pit. A level frame ensures even bounce and reduces wear on the trampoline mat and springs.
Installing The Trampoline Mat: Tips For a Perfect Fit
Attaching The Springs
Attach the springs to the frame, following the manufacturer’s instructions. Ensure each spring is securely attached to prevent accidents. Use a spring tool to make the process easier and to protect your hands. Evenly spaced and securely attached springs are essential for a balanced and responsive trampoline mat.
Securing The Trampoline Mat
Attach the trampoline mat to the springs, ensuring it is taut and evenly stretched. Check for any signs of wear or damage on the mat before installation. A well-secured mat ensures a safe and enjoyable jumping experience. Regularly inspect the mat for any signs of wear and replace it as needed.
Enhancing Safety & Longevity Of Your In-Ground Trampoline
Installing Safety Enclosures & Nets
Install in-ground trampoline enclosures and in-ground trampoline nets to enhance safety. Ensure the enclosures are securely attached and in good condition. Regularly inspect and maintain these safety features to prevent accidents. Properly installed safety enclosures and nets provide an additional layer of protection, especially for younger users.
Adding Ventilation Features
Proper ventilation is crucial to maintain the trampoline’s bounce quality. Install ventilation holes or tubes around the perimeter of the frame to allow air to flow freely beneath the mat. Regularly check and clean these ventilation features to prevent blockages. Proper ventilation reduces wear on the mat and springs, prolonging the trampoline’s lifespan.
Applying a Trampoline Cover
Use an in-ground trampoline cover to protect the trampoline from weather elements and debris. Choose a cover that allows some airflow to prevent moisture buildup. A good cover protects the trampoline from UV damage and extends its lifespan. Ensure the cover fits snugly and is made of breathable material to promote ventilation.
Final Checks & Maintenance For Your In-Ground Trampoline
Conducting a Safety Inspection
Perform a thorough safety inspection before the first use. Check that all parts are securely attached and that the trampoline is stable. Test the bounce to ensure the mat and springs are functioning correctly. Address any issues promptly to ensure user safety.
Regular Maintenance
Maintain your trampoline regularly to ensure its longevity. Inspect the frame, springs, mat, and safety enclosures for signs of wear or damage. Clean the mat and frame regularly to remove dirt and debris. Regular maintenance prevents costly repairs and ensures the trampoline remains safe for use.
Checking The Drainage System
Regularly check the drainage system to ensure it is functioning correctly. Clean any blockages and ensure water is draining away from the pit. A well-maintained drainage system prevents water accumulation, which can damage the trampoline and reduce its lifespan.
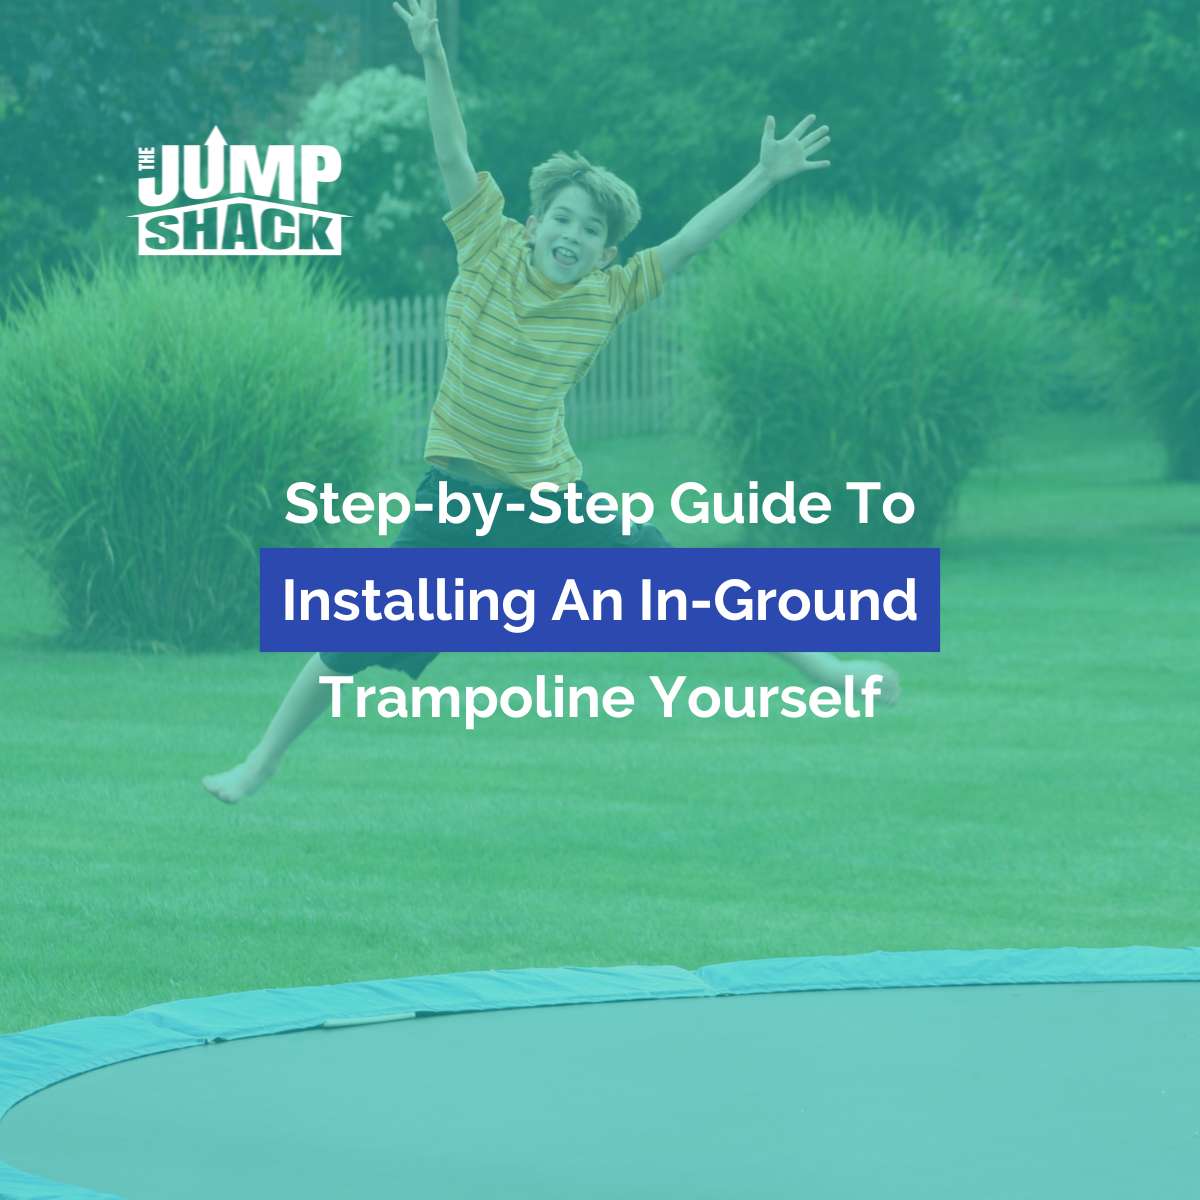
Your DIY In-Ground Trampoline Installation
Installing an in-ground trampoline yourself is a rewarding project that enhances your backyard and provides endless fun. By following this step-by-step guide, you can ensure a safe and successful installation. Remember to regularly maintain your trampoline to keep it in optimal condition.
For expert guidance and high-quality in-ground trampoline products, contact us at The Jump Shack. Our experienced in-ground installations is ready to assist you with all your trampoline needs. Enjoy the benefits of a well-installed in-ground trampoline for years to come.
The Jump Shack
1528 W San Pedro St #4
Gilbert, AZ 85233
Tel: (800) 414-2001
Email: [email protected]
Website: aztrampoline.com


