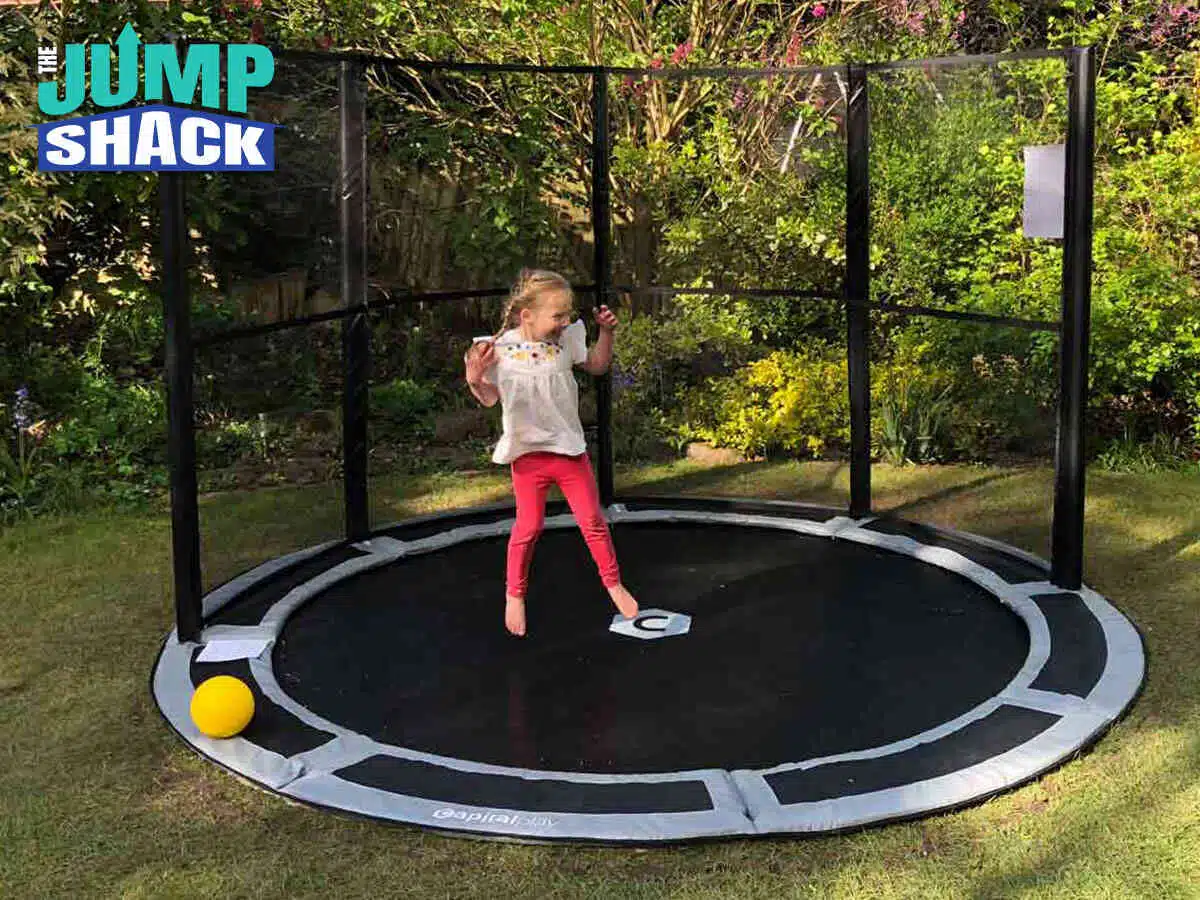
Buying an in-ground trampoline is a big deal. It’s not only a weekend toy but also a permanent landscaping addition to your backyard. Once you decide to go with an in-ground design, your mind naturally jumps to safety and how it’ll look in your yard.
But picking the perfect model means doing proper research—you need to look closely at the materials, figure out how different shapes change the bounce, and plan for how your kids will actually use it as they get older.
Here’s a practical look at what you need to consider before breaking ground.
Start With Who Will Be Jumping
Trampolines are not one-size-fits-all. The ages and athletic goals of the people using the trampoline should dictate your first few decisions.
- Families with toddlers and younger children: You’ll want to prioritize a softer, more forgiving bounce. Look for features designed to naturally guide jumpers safely back toward the center of the mat.
- Teenagers and athletes: Older kids need a much firmer bounce so they can get decent height. They’ll also need a larger surface area to practice tumbling and routines.
- Adults and mixed-age use: If adults plan to use the trampoline for cardiovascular fitness or rebounding, the structural integrity and the single-jumper weight capacity become the most critical factors.
Choose the Right Shape for Your Yard
The debate between round and rectangular usually comes down to a balance of backyard space and performance needs.
- Round trampolines (The family standard): Round frames are generally better for recreational family use. Because all the springs point toward the center, the tension naturally draws the jumper back to the middle of the mat, which acts as a passive safety feature. They do, however, require a wider, perfectly square footprint in your yard.
- Rectangular trampolines (performance and efficiency): Rectangular models feature independent spring systems. This means the springs work individually based on where you land, providing an even, powerful bounce across the entire surface. This shape is preferred by athletes. Additionally, rectangular footprints are highly efficient and tend to fit much easier into the narrow side-yards common in modern home developments.
The “Underground” Material Test
When a trampoline sits inside a hole, it is constantly fighting ground moisture, temperature swings, and trapped heat. This is where cheap kits fail almost immediately.
If there is one thing you shouldn’t compromise on, it’s the steel. Look at the frame specs. You want heavy-gauge, double-galvanized steel. Some of the higher-end manufacturers will even add a powder coating over the galvanization. If the frame isn’t treated for underground use, a single season of monsoon moisture will start rusting it out.
The same rule applies to the jump mat and the safety pads. The Arizona sun destroys cheap plastics. Make sure the materials are explicitly rated for severe UV resistance, or you’ll be replacing cracked, brittle safety pads after one summer.
Understand Weight Capacity Ratings
Manufacturers list weight limits, but it is helpful to understand the difference between structural capacity and single-jumper limits.
A trampoline might advertise a total load capacity of 800 lbs, but the more important metric is the single-user weight rating.
High-quality residential models typically feature a single-user limit of 250 lbs or more. This indicates that the springs and the frame have enough tensile strength to support heavier, more forceful bounces without bottoming out or overstretching the springs.
Why the “Bounce” Depends on Your Safety Pads
This is a detail almost everyone misses until it’s too late.
When you jump on a normal trampoline, the air underneath just pushes out the sides. When a trampoline is inside a pit, that air is trapped. If it can’t escape quickly when you land, the mat turns rigid, putting massive stress on the springs and your knees.
You need a system with vented safety pads. Premium in-ground trampolines use specially designed padding that allows the trapped air to aggressively vent out of the pit on every downward bounce. Without it, you completely ruin the performance of the trampoline.
Review the Warranty Thoroughly
A comprehensive warranty is usually a good indicator of material quality. Because an in-ground setup is a long-term fixture, pay attention to the specific coverage areas:
- Frame warranty: Premium manufacturers often offer 10-year to lifetime warranties on the steel frame.
- Mat and spring warranty: These are wear-and-tear items, but high-quality options still typically carry 2- to 5-year warranties.
Plan for Installation and Local Yard Conditions
Once you have chosen the right model, you have to face the reality of installing it in your specific yard. If you live in the Phoenix area, there are a few local hurdles that will dictate how your project goes:
- Drainage needs: Heavy monsoon rains are a real factor here. Depending on your neighborhood’s soil, water can easily pool in the pit. You’ll need to plan for a gravel soakaway or even add a simple sump pump to keep standing water away.
- Arizona caliche: Excavating 3 feet of dirt is difficult, but hitting a hard layer of caliche soil often requires heavy machinery.
- Utility lines: Digging a large pit requires clearing the site for underground utilities. (If you are managing the project yourself, you must contact Arizona 811 to schedule a free utility marking before digging).
The Real Cost of an In-Ground Trampoline in Arizona
Let’s cut to the chase regarding budget. While it is tempting to buy the cheapest box online, quality and price go hand-in-hand in backyard construction. Budgeting for an in-ground setup means calculating the Total Cost of Ownership (TCO).
Here’s a realistic look at what a professional, no-corners-cut setup usually runs:
- Premium trampoline kit and retaining wall: Expect to spend somewhere between $2,135 and $3,200.
- Pro excavation and trenching: This varies based on your soil and the exact materials needed, but it usually falls between $800 and $2,000.
- Dirt haul-away and dump fees: Typically between $400 and $1,000.
If a contractor bids lower than these averages, they are likely cutting corners on the retaining wall thickness or leaving a massive pile of dirt in your driveway.
4 Common Mistakes to Avoid When Buying
Don’t learn these lessons the hard way. Avoid these common pitfalls:
- Buying strictly on price: Going with the cheapest model usually means you’re sacrificing UV durability and the integrity of your retaining wall.
- Skipping safety features: If you ignore enclosure nets or verified weight limits, the risk of injury skyrockets.
- Ignoring the site prep: Failing to dig the hole to the exact required depth will ruin your equipment and instantly void your warranty.
- Forgetting about maintenance: If you don’t regularly clean the mat or clear debris out of the pit, your trampoline just won’t last as long.
Maintenance for Longevity
Luckily, maintaining an in-ground trampoline isn’t too hard. Just check the pit a few times a year—especially after heavy monsoon winds—and clear out any leaves so your drainage system doesn’t get clogged.
Also, give the jump mat a quick hose-down every now and then. Dust and abrasive dirt act exactly like sandpaper and will wear out the fabric way faster than normal.
Frequently Asked Questions (FAQ)
How deep is the hole for an in-ground trampoline?
It depends on the diameter of your equipment, but generally, the center of the pit is dug out like a bowl to roughly 3 feet (36 inches) deep. That ensures jumpers have plenty of clearance and don’t bottom out.
Does an in-ground trampoline affect HOA compliance?
Because in-ground models sit flush with the grass and below the fence line, they are generally much easier to get approved by strict Homeowners Associations compared to tall, above-ground models.
How long does professional installation take?
Assuming there is clear access to your yard and standard soil conditions, a professional team can usually handle the excavation, build the retaining wall, and set up the trampoline in just 1 to 2 days.
Ready to Transform Your Backyard? Partner with AZ Trampoline
Balancing safety, yard aesthetics, and bounce performance doesn’t have to be a massive headache. If you are stuck weighing different models or trying to figure out what size makes sense for your space, our local installation experts can guide you through the process. Contact The Jump Shack today for more help!
![]()
The Jump Shack
1528 W San Pedro St #4
Gilbert, AZ 85233
Tel: (800) 414-2001
Email: [email protected]
Website: aztrampoline.com


